
Making your own mailbox cover is one of the more satisfying small projects a homeowner can take on. It requires no specialized tools, costs under $30 in materials, and produces something genuinely custom that you won't find anywhere else. Whether you're after a seasonal design, a personalized look, or simply want to hide a mailbox that's seen better days, a homemade cover accomplishes it in an afternoon.
The basic principle is straightforward: a mailbox cover is a shaped panel of flexible, weather-resistant material that wraps over the curved top of a standard curbside mailbox and holds in place with magnets. The classic Joroleman-style mailbox — that arched dome shape found across American suburbs — is essentially a half-cylinder, which makes it remarkably easy to template and cover with a single flat sheet of material bent into shape.
Before starting, it's worth knowing what you're comparing against. Commercially produced mailbox covers are typically made from weatherproof vinyl with pre-installed magnetic strips, sized to standard T1 and T2 mailbox dimensions, and designed to survive full-season outdoor exposure. Making your own gives you complete design freedom but requires you to solve the material durability question yourself — which is where most DIY attempts either succeed brilliantly or fall apart within a month.
What You'll Need
Material for the cover itself. Your best options are outdoor-rated magnetic sheeting (available in rolls from craft and hardware stores), heavy-duty outdoor vinyl, or thin flexible plastic sheeting. Avoid paper, cardboard, standard fabric, or untreated wood — all of these fail rapidly outdoors regardless of how carefully you seal them.
Magnetic strips if your chosen material isn't already magnetic. Adhesive-backed magnetic tape rated for outdoor use is the standard solution.
A measuring tape, scissors or a craft knife, and a marker. Nothing more specialized than that.
Optional: outdoor-rated paint, permanent markers, or vinyl decals depending on how you plan to decorate the finished cover.
Optional: clear UV-resistant sealant spray to extend the life of any painted or drawn design.
Step 1 — Measure Your Mailbox
Measure three dimensions: the length of the mailbox from front to back, the width across the base, and the curve — which you measure by running a flexible tape from the bottom edge on one side, up over the top, and down to the bottom edge on the other side.
For a standard T1 residential mailbox, you're typically looking at roughly 19 to 21 inches in length and 17 to 19 inches around the curve. Measure your specific mailbox rather than relying on these figures, since sizes vary and even a one-inch discrepancy produces a cover that either gaps at the edges or overhangs awkwardly.
Write down all three numbers before you cut anything.
Step 2 — Cut Your Template
Lay your material flat and mark out a rectangle using your curve measurement as the height and your length measurement as the width. Cut it out.
A useful trick: cut a paper template first and test-fit it on the mailbox before cutting your actual material. Paper costs nothing, and you'll immediately see whether your measurements produce a proper fit or need adjusting. Once the paper version sits correctly, use it as a pattern for the real thing.
Round the corners slightly rather than leaving them sharp — square corners tend to lift and catch wind, which is the most common failure point on homemade covers.
Step 3 — Apply the Magnets
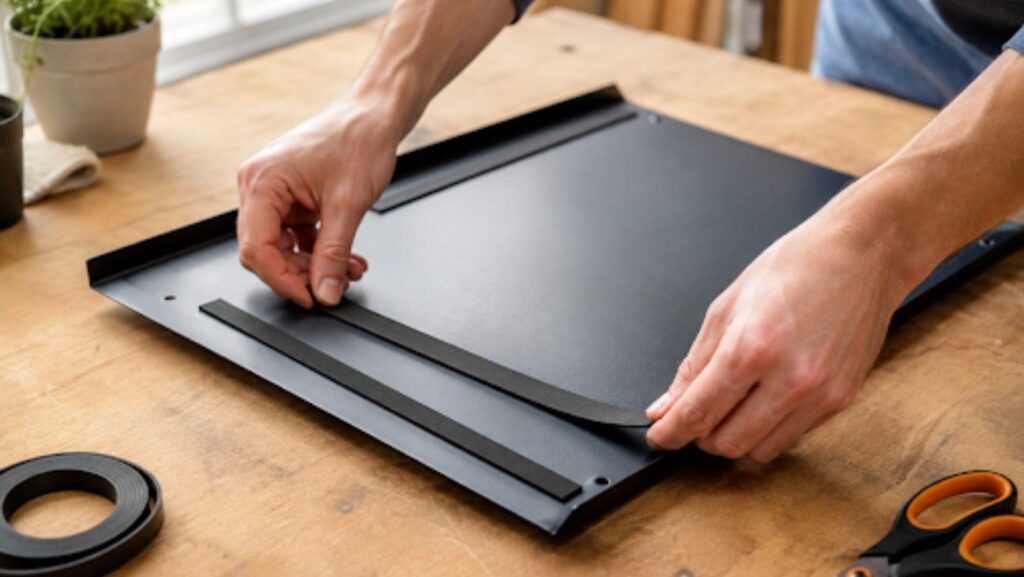
If you're not using pre-magnetized sheeting, apply adhesive magnetic strips along the entire length of both long edges of your cover, positioned so they'll sit against the mailbox's metal sides when the cover is in place.
Add two or three shorter strips across the middle section as well. This is the step DIY guides frequently skip, and it's why so many homemade covers flap loose in wind — edge magnets alone aren't enough to hold the center flat against a curved surface.
Press the adhesive firmly and let it cure for the time specified on the packaging, usually a few hours, before handling the cover further.
Step 4 — Decorate
This is the part where a homemade cover justifies itself over a commercial one. Paint a design with outdoor-rated acrylics, apply vinyl decals, use permanent outdoor markers, or attach weatherproof appliqués — whatever suits the look you're after.
Two practical notes: work on the cover while it's lying flat rather than mounted, and apply a UV-resistant clear sealant over any painted or drawn design once it's fully dry. Without sealant, even outdoor paint fades noticeably within a single sunny season.
Step 5 — Fit and Test
Place the cover over your mailbox, centering it front to back. It should sit flush against the curve with no gaps at the edges.
Then test it properly: open and close the mailbox door several times to confirm the cover doesn't interfere, and check that the flag raises and lowers freely. A cover that blocks either of these creates a functional problem for your mail carrier, not just an aesthetic one.
Give the edges a firm press to seat the magnets, and check it again after the first windy day to confirm nothing has shifted.